实验机A 10.140.10.111
实验机B 10.140.10.112
系统centos:7.5
实验机A 10.140.10.111 操作
第一步下载自动脚本
curl https://www.xiz.im/github/home/sh/unison.sh
文章有误,目前没时间更新,请按照脚本的安装顺便自己手动先玩吧...有时间我会更新的 --2018.10.26
注意:同步很占用系统资源!!!!!!同步很占用系统资源!!!!!!同步很占用系统资源!!!!!!
然后就完成了,看下效果吧
Remember me to one who lives there
实验机A 10.140.10.111
实验机B 10.140.10.112
系统centos:7.5
实验机A 10.140.10.111 操作
第一步下载自动脚本
curl https://www.xiz.im/github/home/sh/unison.sh
文章有误,目前没时间更新,请按照脚本的安装顺便自己手动先玩吧...有时间我会更新的 --2018.10.26
注意:同步很占用系统资源!!!!!!同步很占用系统资源!!!!!!同步很占用系统资源!!!!!!
然后就完成了,看下效果吧
试了下cd等简单命令都无法跑...那问题肯定出在字符格式上
vim xxx.sh
#按ECS键和冒号
:set ff  //查看当前脚本格式,一般会显示是DOS格式的
:set ff=unix  //设置unix格式就好了
完事
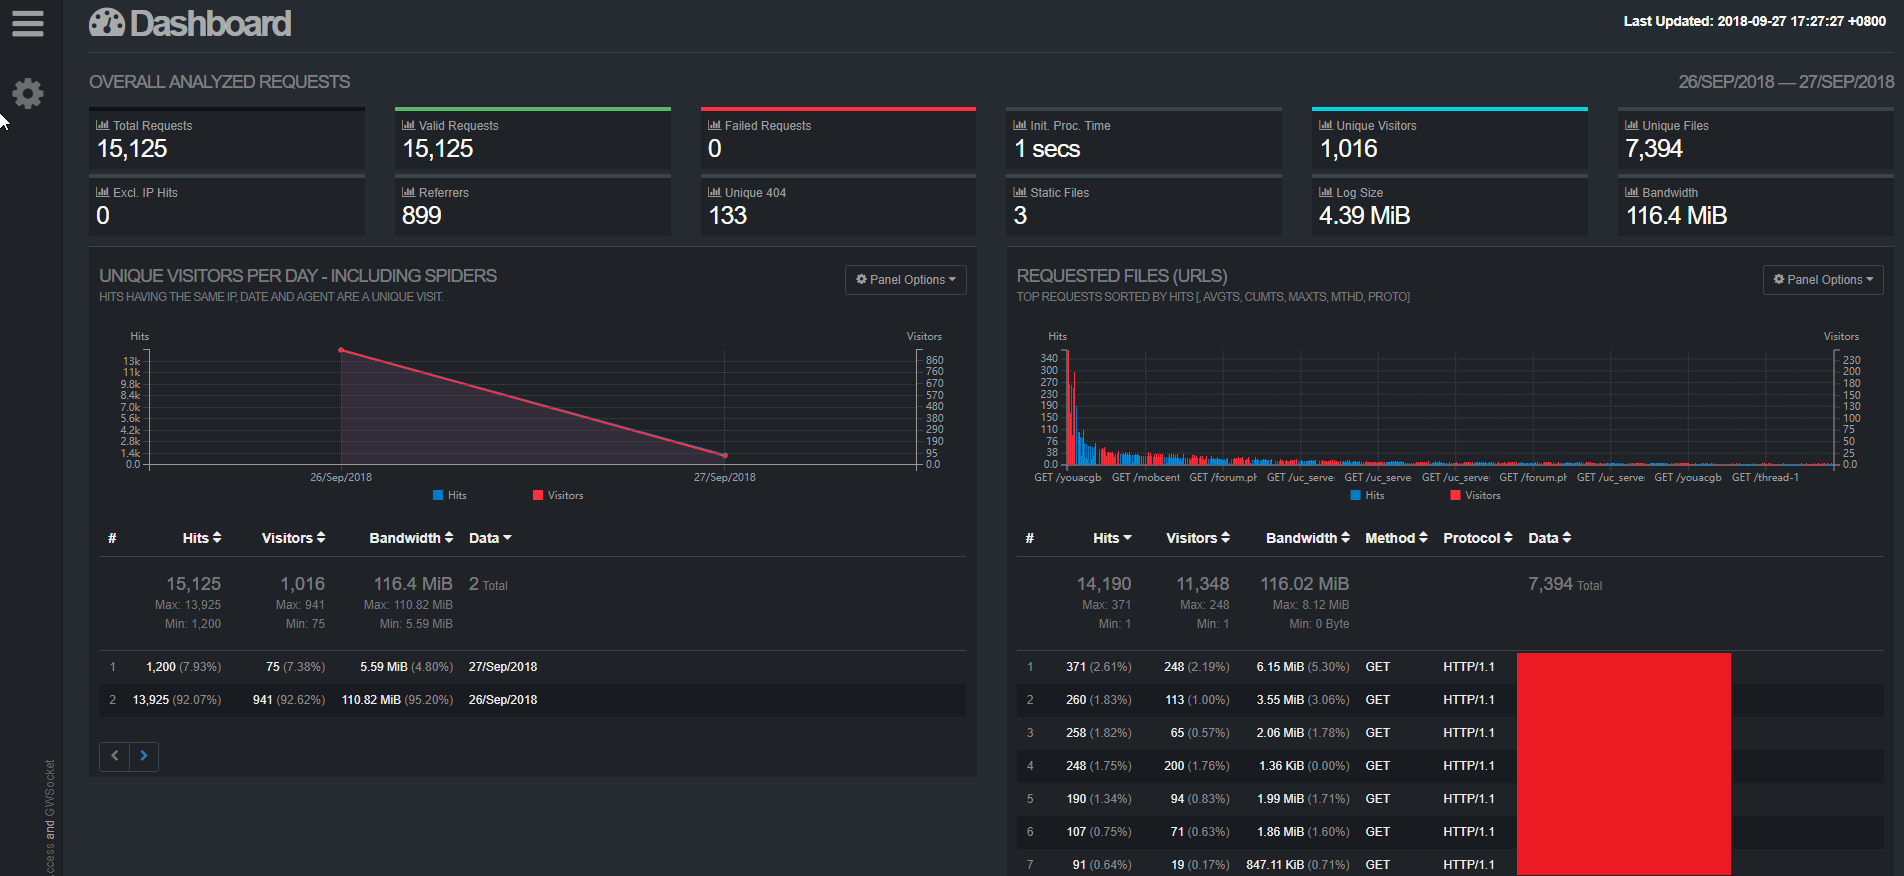
系统:centos7.5
1.安装
yum -y install epel-release
yum -y install goaccess
2.配置文件
   vi ./goaccessrc
   #加入以下内容
   time-format %T
   date-format %d/%b/%Y
   log-format %h %^[%d:%t %^] "%r" %s %b "%R" "%u"
3.生成结果html
goaccess -f /logs/nginx.log -a -p ~/.goaccessrc > /usr/local/nginx/html/index.html
#以上为例子

因为想用ansible tower了...但3.2版本至少要ansible2+
前提:python2.6以上
1.首先备份原来的主机配置文件
cp /etc/ansible/hosts ~/hosts2.卸载ansible
pip uninstall ansible #因为我是pip安装的
#brew安装的参考如下卸载办法
#brew update
#brew uninstall ansible19
#brew uninstall ansible
#brew cleanup -s
#brew install ansible
3.安装最新版本
因为懒...还是走yum吧
yum -y update
yum -y install ansible
ansible --version
cp ~/hosts /etc/ansible/
#完成set_real_ip_from 103.21.244.0/22;
set_real_ip_from 103.22.200.0/22;
set_real_ip_from 103.31.4.0/22;
set_real_ip_from 104.16.0.0/12;
set_real_ip_from 108.162.192.0/18;
set_real_ip_from 131.0.72.0/22;
set_real_ip_from 141.101.64.0/18;
set_real_ip_from 162.158.0.0/15;
set_real_ip_from 172.64.0.0/13;
set_real_ip_from 173.245.48.0/20;
set_real_ip_from 188.114.96.0/20;
set_real_ip_from 190.93.240.0/20;
set_real_ip_from 197.234.240.0/22;
set_real_ip_from 198.41.128.0/17;
set_real_ip_from 2400:cb00::/32;
set_real_ip_from 2606:4700::/32;
set_real_ip_from 2803:f800::/32;
set_real_ip_from 2405:b500::/32;
set_real_ip_from 2405:8100::/32;
set_real_ip_from 2c0f:f248::/32;
set_real_ip_from 2a06:98c0::/29;
# use any of the following two
real_ip_header CF-Connecting-IP;
#real_ip_header X-Forwarded-For;
其他的连接:https://support.cloudflare.com/hc/en-us/sections/200805497-Restoring-Visitor-IPs